The Basics of Replacing Window Glass
Replacing window glass can seem daunting, but understanding the steps involved can make it easier. This guide covers everything you need to know about replacing window glass in your home. From choosing the right glass to ensuring proper installation, each step is crucial for a successful outcome. Whether it’s for a broken pane or an upgrade to more energy-efficient options, this process enhances both functionality and aesthetics.
Choosing the Right Type of Glass
Selecting the appropriate type of glass is vital for effective window performance. Consider factors such as energy efficiency, durability, and aesthetic appeal. For instance, double-paned glass offers better insulation compared to single-paned options. Tempered glass provides enhanced safety because it shatters into small pieces rather than sharp shards. Your choice will impact both comfort and security in your home.
Steps Involved in Removing Old Glass
Removing old glass is the initial step in the window replacement process. Begin by carefully taking out the existing glass. Use protective gloves to prevent injuries from any sharp edges. Next, you will need to remove any glazing putty or clips that hold the glass in place. This allows for smooth removal without damaging the window frame.
Essential Tools for Glass Replacement
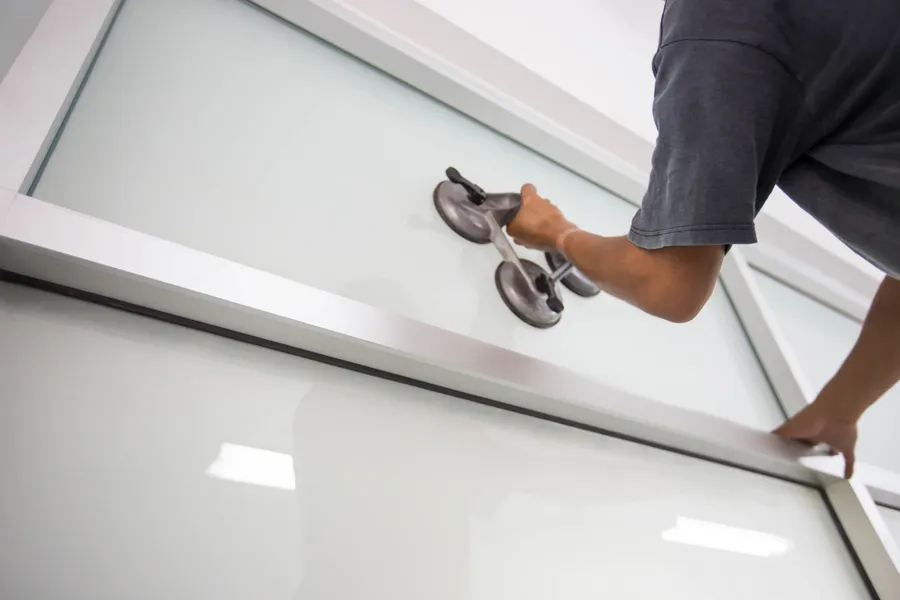
Having the right tools makes all the difference when doing a glass replacement. Basic tools include a tape measure, putty knife, and suction cups for lifting large panes safely. You might also require a heat gun to soften old glazing putty. These tools ensure precision and safety during installation.
Preparing the Frame for New Glass
Before installing new glass, prepare the window frame properly. Clean out debris and apply fresh glazing compound around the edges. This creates a secure seal for the new pane. Ensure measurements are accurate so that the new glass fits snugly, reducing drafts and improving insulation.
Installing the New Pane Efficiently
- Position the new glass within the frame carefully.
- Secure it with glazier’s points or clips at intervals.
- Apply a consistent bead of glazing compound around the edge.
- Smooth the compound with a putty knife for a neat finish.
Finishing Touches and Inspection
Once you’ve installed the new glass, inspect your work for any gaps or uneven areas. Make sure the compound has set correctly to avoid future issues like leaks or loosening. Conduct a final inspection by testing how well the window opens and closes to confirm a tight fit.
Maintaining Your Windows Over Time
Regular maintenance helps prolong the life of your windows. Clean them periodically with non-abrasive solutions to prevent scratches. Check seals and weather stripping annually to ensure they remain effective. Address minor repairs promptly to maintain their appearance and functionality over time.
Your Partner in Quality Service
I offer professional services in Huffman, TX with quality assurance. By choosing Local Window Repairs, you invest in expertise and reliability for your window needs. Contact me at (346) 809-8726 today for personalized guidance tailored to your specific requirements.


